Resource Management
This section of the OICM+ platform admin tools enables cluster admins to allocate computing nodes and storage to tenants. This management capability is essential for optimizing resource utilization across multiple tenants.
Resource Management Main Page
The Resource Management page provides an overview of node distribution across all tenants.
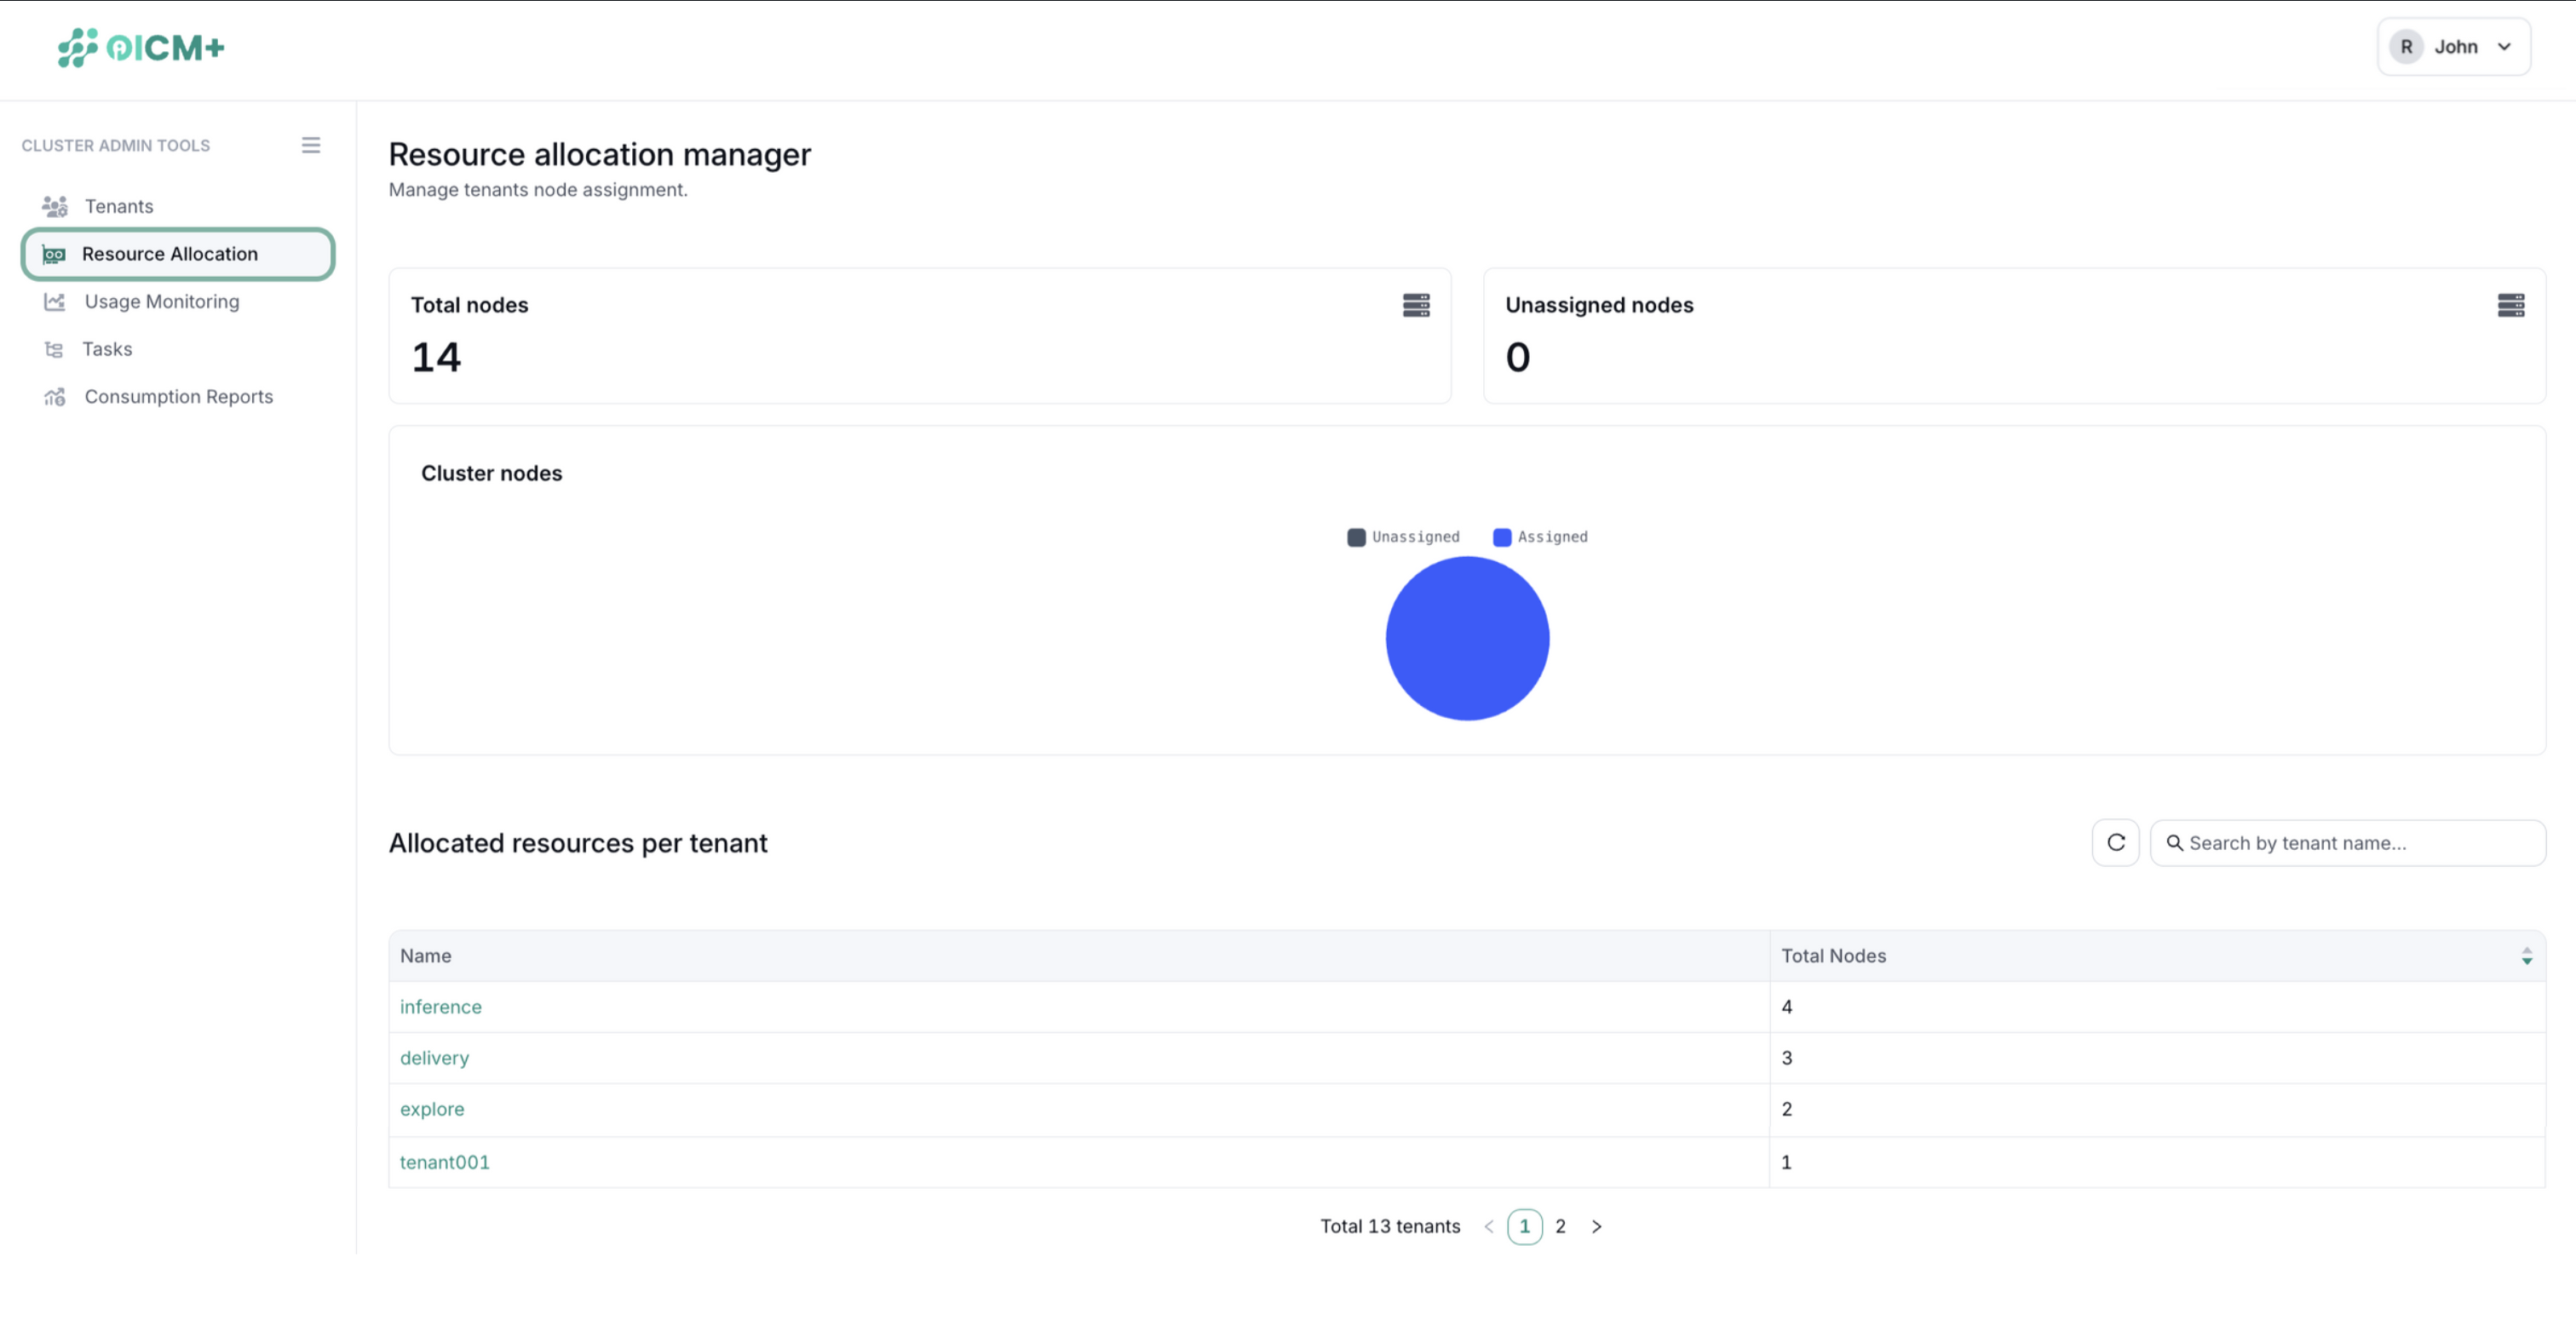
Dashboard Overview
The top of the page features several key indicators:
- Total Nodes: Shows the total number of computing nodes available.
- Unassigned Nodes: Indicates the number of nodes not yet allocated.
- Resource Distribution Pie Chart: Visual representation of node allocation between assigned and unassigned nodes.
List of Tenants
Below the dashboard, a table lists all tenants with details on their node allocations:
- Tenant Name
- Total Nodes
Tenant Node Management
Clicking on a tenant in the list brings you to the Tenant Node Management interface.

Managing Node Allocation
At the top of this interface, you will find an overview of the total assigned nodes.
Assigning Nodes
- Navigate to the unassigned nodes section.
- Select the desired nodes by checking the boxes next to each node.
- Click the arrow button to move the selected nodes to the assigned nodes list.
Unassigning Nodes
- In the assigned nodes section, select the nodes you wish to unassign.
- Click the arrow button to move the selected nodes back to the unassigned nodes list.
Node properties
In the tabular view of the Node list in Assigned and Unassigned, there are multiple important details of the node: - Accelerator: Vendor and Model of the GPU that Node contains. - Accelerator count: Total number of GPUs in an individual node. - CPU count: Total number of CPUs in an individual node. - Status: The indicator that shows whether the node is being used or idle at the moment. This indicator shows "Idle" or "Running". When unassigning the node from tenant, "idle" nodes are recommended to start with, so that the active workloads in "running" node are not disrupted.
Object Storage and Network File Storage Allocation
Additionally, super admins can assign and adjust object storage and network file storage quotas for each tenant:
- In the OBS and NFS storage sections, click to the edit button to enter the desired storage quota for the tenant.
- Click "Update" to submit the storage allocation operation.